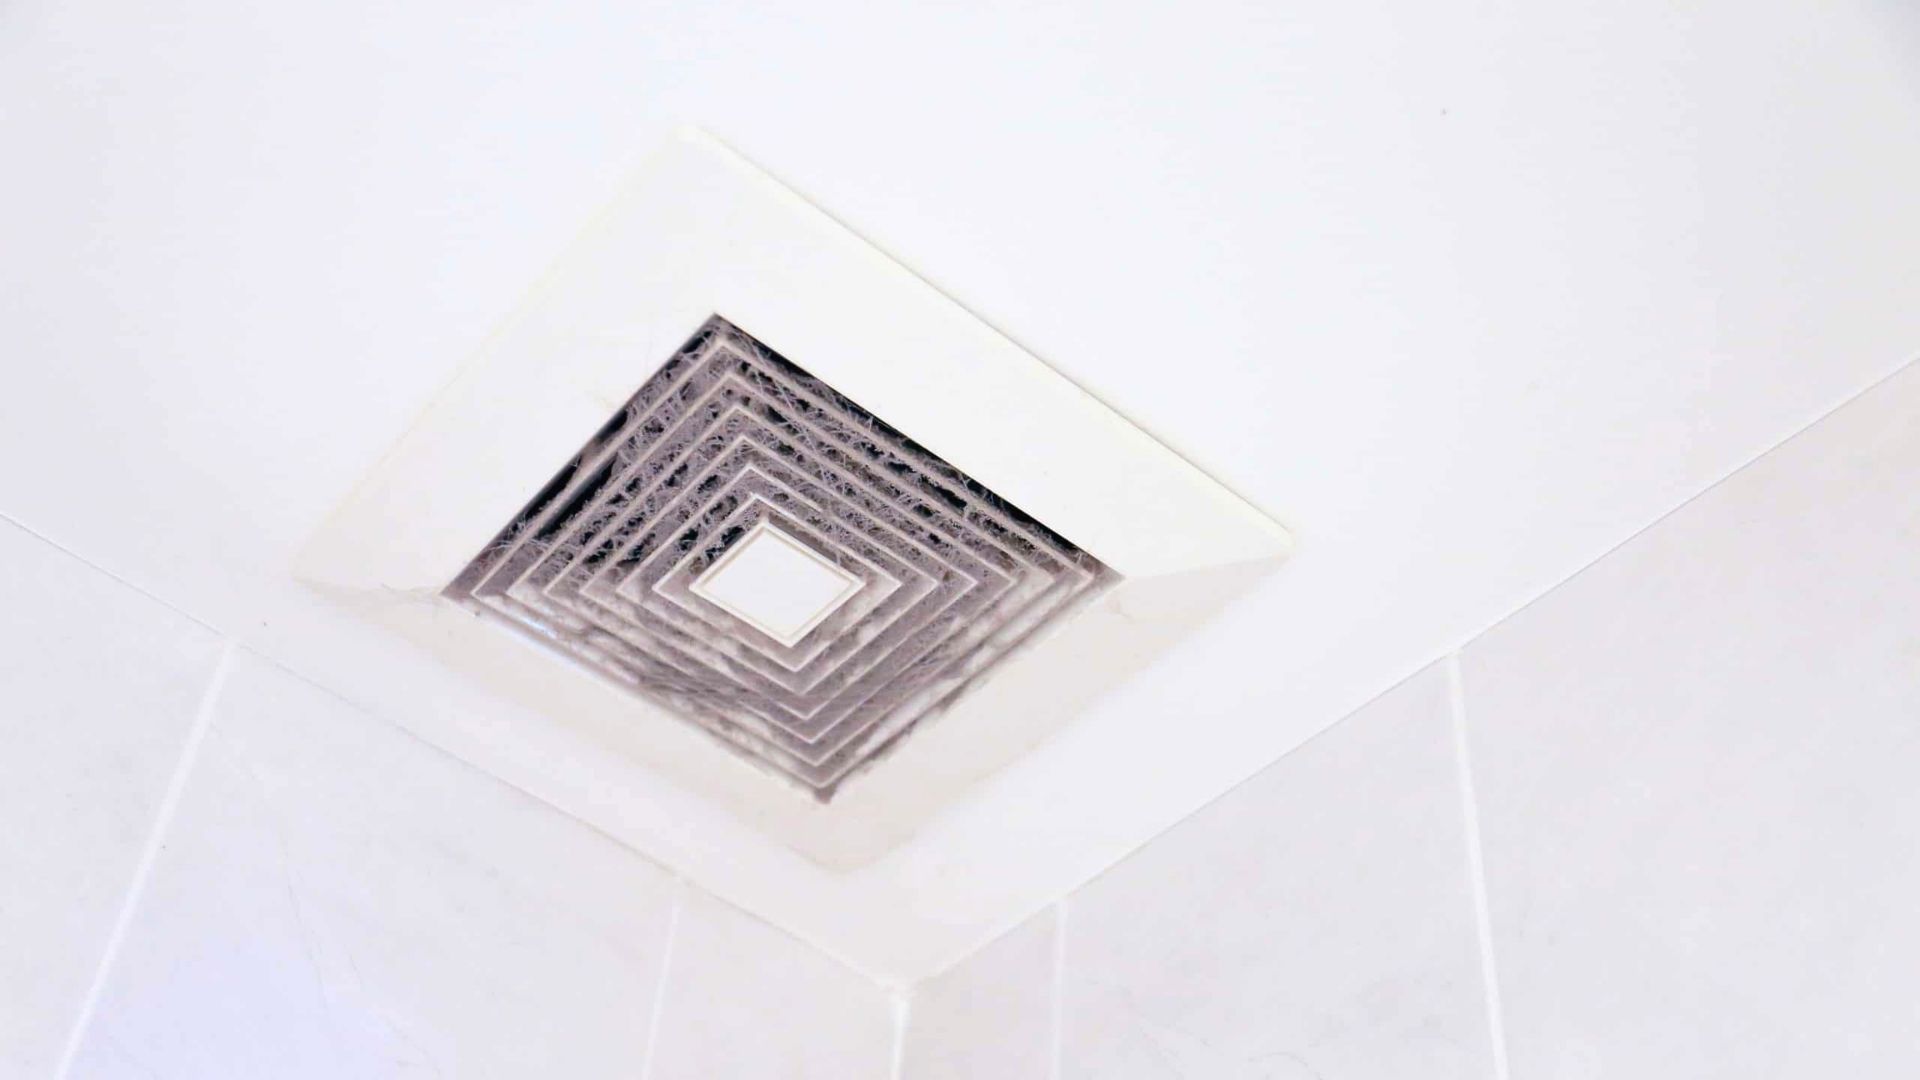
You may not have thought about how to clean a bathroom exhaust fan, but it is one of the essential chores for tidying your bathroom, as it tends to get dirty very quickly. Besides, maintaining proper ventilation eliminates excess moisture and prevents mildew build-up. The more dirt and dust an exhaust fan traps from your bathroom, the dirtier it tends to get over time.
Keeping your bathroom exhaust fan clean is not difficult; you can achieve the desired results with a bit of effort. And today, in this guide, we will look at the best techniques you can implement to get it shiny and clean in no time.
So, without further delay, let’s dive right in!

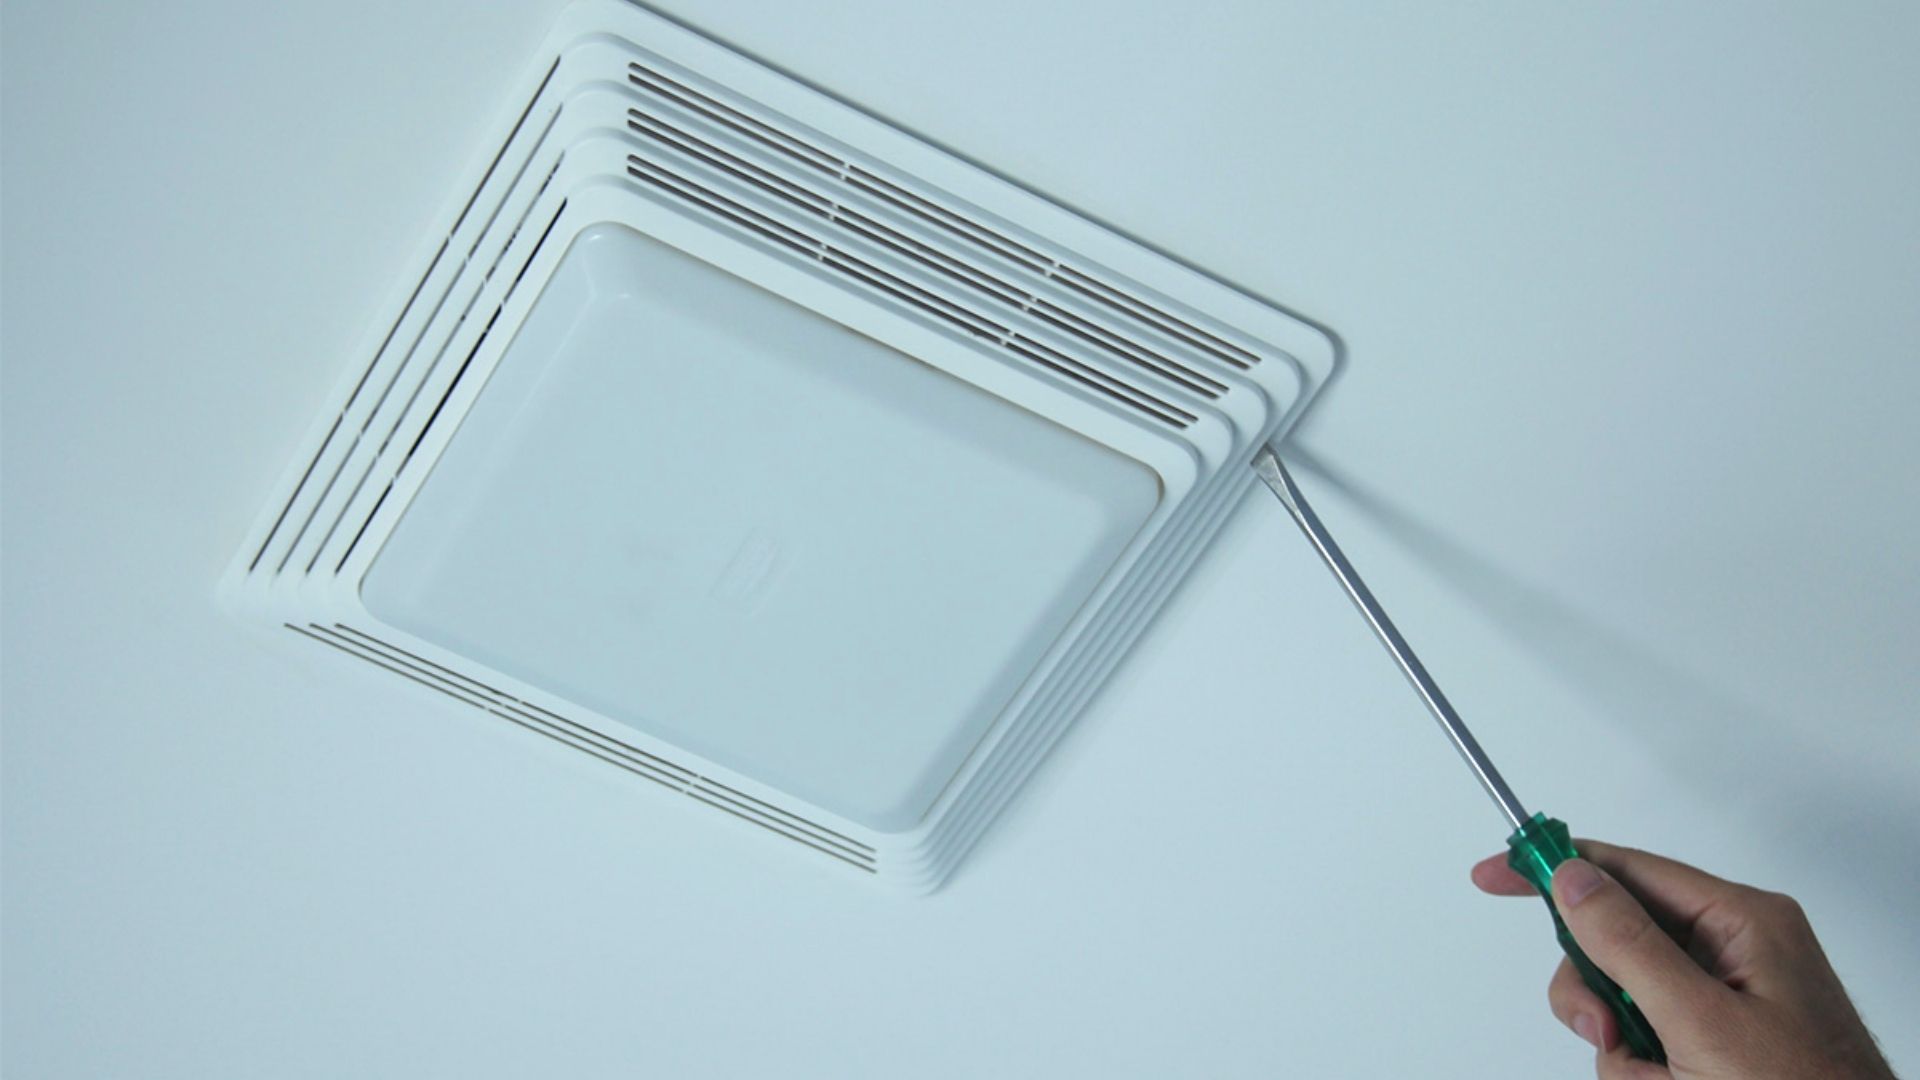
Most bathroom exhaust fans have a cover to protect them from wear and tear. So, before cleaning a fan, you must carefully remove its cover. Once you remove the cover, you can see the exposed fan blades.
You will now get a clear look at your task: the amount of grime and dust collected on the fan blades.
After removing the fan cover, clean it properly with soapy detergent water. You can fill your bathroom sink with dish soap and gently rub the cover with a scrubber.
If there’s stubborn grime, you might have to scrub it more challenging to get them off. After cleaning, use a towel and pat the vent cover dry. You can even consider a compressed air dry if you are not in a hurry. You can also use a toothbrush to remove all stains and dirt.
Once the cover is dry, you can move to the next step of cleaning the fan.
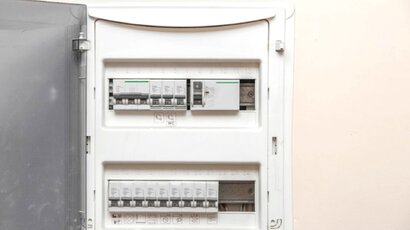
Before working on the exhaust fan, always disconnect it from the power source to maintain safety. You should start cleaning it when you are sure the fan has no electrical connection. You can even switch the power off to the bathroom on the primary circuit to be completely safe.
The most effective tool is a vacuum wand to remove dust from the fan. It is best to find proper wand attachments to get the job done effectively to clean the inner corner. From our experience, we have noticed that a bristle brush works excellently in this regard.
If you have difficulty reaching a particular area, consider using a crevice attachment to solve the problem. Don’t forget that you must use the vacuum carefully not to damage anything.
It is true that after using the vacuum, you will see that the dry dust has been removed. But vacuuming won’t eliminate the stubborn grime that often collects on the fan vents.
To remove that, you will need to dampen a microfibre cloth and wipe the components of the fan unit properly to get rid of the dirt that has collected over time. However, if you plan to deep clean a bathroom fan, you must disassemble it by removing the screws and separating the parts.
Then, use a damp cloth to clean each part’s insides carefully.
The final step in cleaning your bathroom exhaust fan components is to assemble it by screwing it back into its place. When you are done doing that, get the vent cover reinstalled adequately.
Last but not least, plug it back into the power source, and you are good to go!

One of the primary benefits of having a bathroom exhaust vent is that it helps to reduce moisture in the air. This is important because excess moisture can lead to problems such as mould and mildew growth, musty odours, and peeling paint. By reducing the amount of moisture in the air, bathroom exhaust fans can help to keep your bathroom clean and free from these problems.
Another benefit of having a bathroom exhaust fan is that it can help to prevent water damage. When water vapour condenses on surfaces, it can cause water stains or even promote mould growth and mildew. By removing excess moisture from the air, bathroom exhaust fans can help to keep your walls, ceilings, and floors free from water damage.
Bathroom exhaust fans can also help to reduce allergens in the air. Mould spores and other accumulated dust are all common allergens that can be found in bathrooms.
In addition to reducing allergens, bathroom exhaust fans also help to improve overall air quality. They remove pollutants such as carbon dioxide and volatile organic compounds (VOCs) from the air. Improving air quality allows bathroom exhaust fans to create a healthier indoor environment for you and your family.
Bathroom exhaust fans can also help to reduce energy costs by removing heat from the room. This can help keep your home cooler in the summer, lowering air conditioning bills. In winter, bathroom exhaust fans can help remove humid air from the room, preventing condensation on windows and making your home more comfortable overall.
With that, it’s a wrap, friends! We hope you enjoyed reading this guide on how to clean a bathroom exhaust fan as much as we did while compiling all the information.
Having a clean bathroom fan can make all the difference. So, to keep your bathroom exhaust in good shape, you must regularly take care of it. And taking care of bathroom fans ensures they do not collect dust and grime.
Keeping your bathroom exhaust fan clean will become simple by diligently following the abovementioned steps.
Don’t hesitate to contact us anytime if you need assistance or to install or replace a bathroom fan!
Until next time, adios!
{{author:bio}}
Find them on their website: Precision Electrical & Plumbing, Facebook and LinkedIn.
Keeping your property safe from electrical hazards is crucial. With our guide, you can successfully learn how to detect whether you need to replace your wiring.
Read MoreWanting to install new security system at home? Let us help you decide how many CCTV cameras you need before installing your new system. Read our guide to learn more!
Read MoreWe all know switchboards are vital for your home's electrical system, but how do they work? Discover everything you need to know about switchboards in our informative guide!
Read More


